Getting Started With Mobile Testing
I wanted to do a series of posts to hopefully give a little insight into getting started in the world of mobile testing, and some basic tasks such as creating the right test environment to allow you to easily do android testing… so without further ado, let’s get started
Things We’ll Need
To get started with android testing the most obvious thing you will need is an android device. The good news is this device doesn’t have to be a physical device … that’s right! we can use android virtual devices or AVDs to do mobile testing (I sometimes find it easier to use AVDs actually).
Creating an AVD
For now we’re going to work in windows as it’s a little easier to get started but feel free to work in Linux or Mac if you like. So firstly we’re going to go need Android Studio, the download can be found here. Go ahead and download and install Android studio - you may even want to write a basic app or two to get a feel for how it fits together - but that’s a story for another blog.
Opening up Android Studio we’re greeted by something that will look like the following, of course depending on when you’re reading this the version might be different.
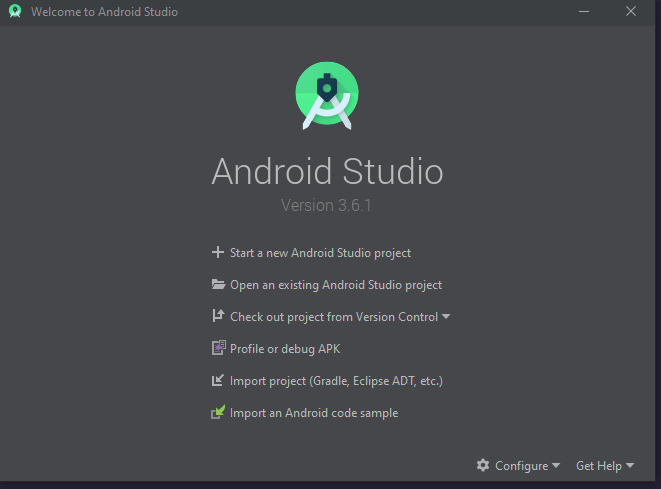
Go ahead and click the configure option at the bottom and select avd manager 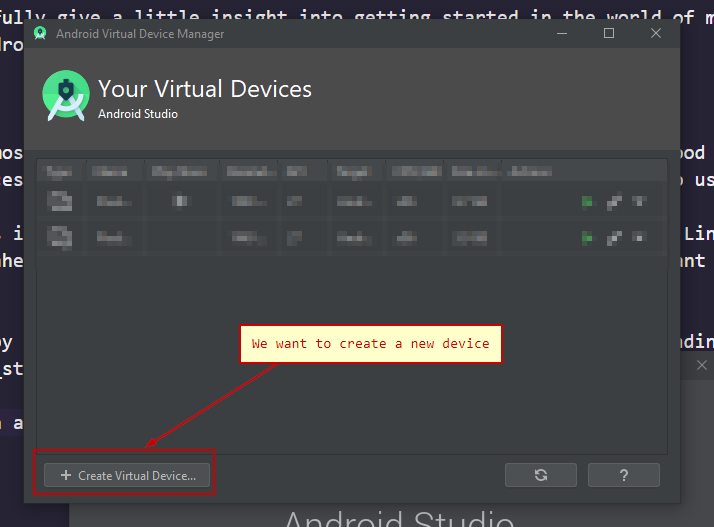
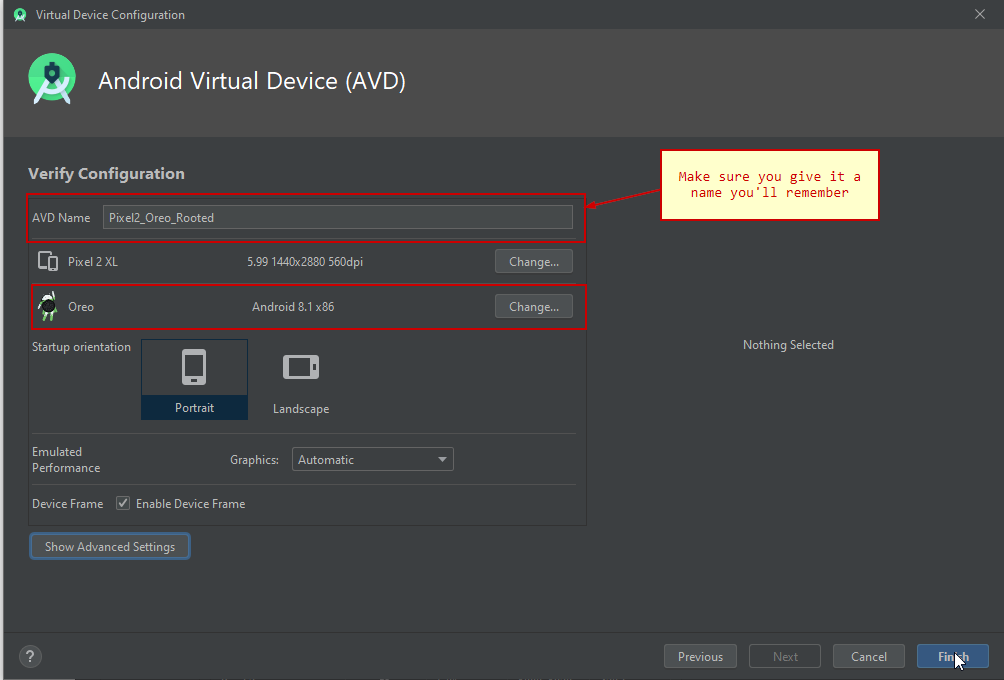
Select a device that doesn’t have the play store enabled as this will allow us to create a device we can can access as the root user. Make sure to create Oreo or less 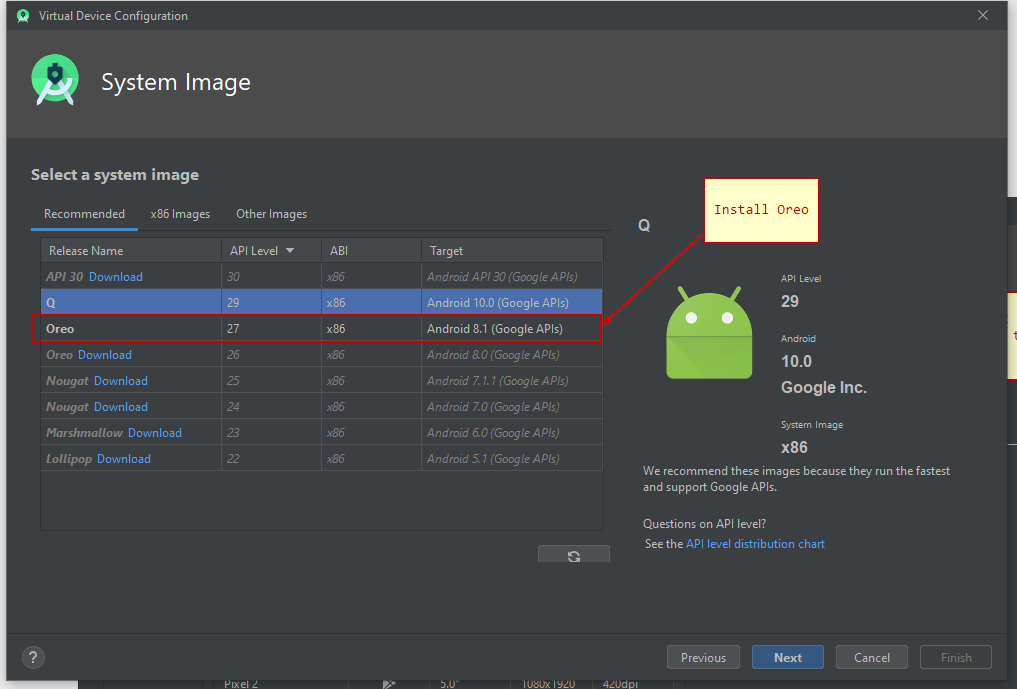 (this will be important later). Make sure to name it something memorable - we’ll be starting it using the command line.
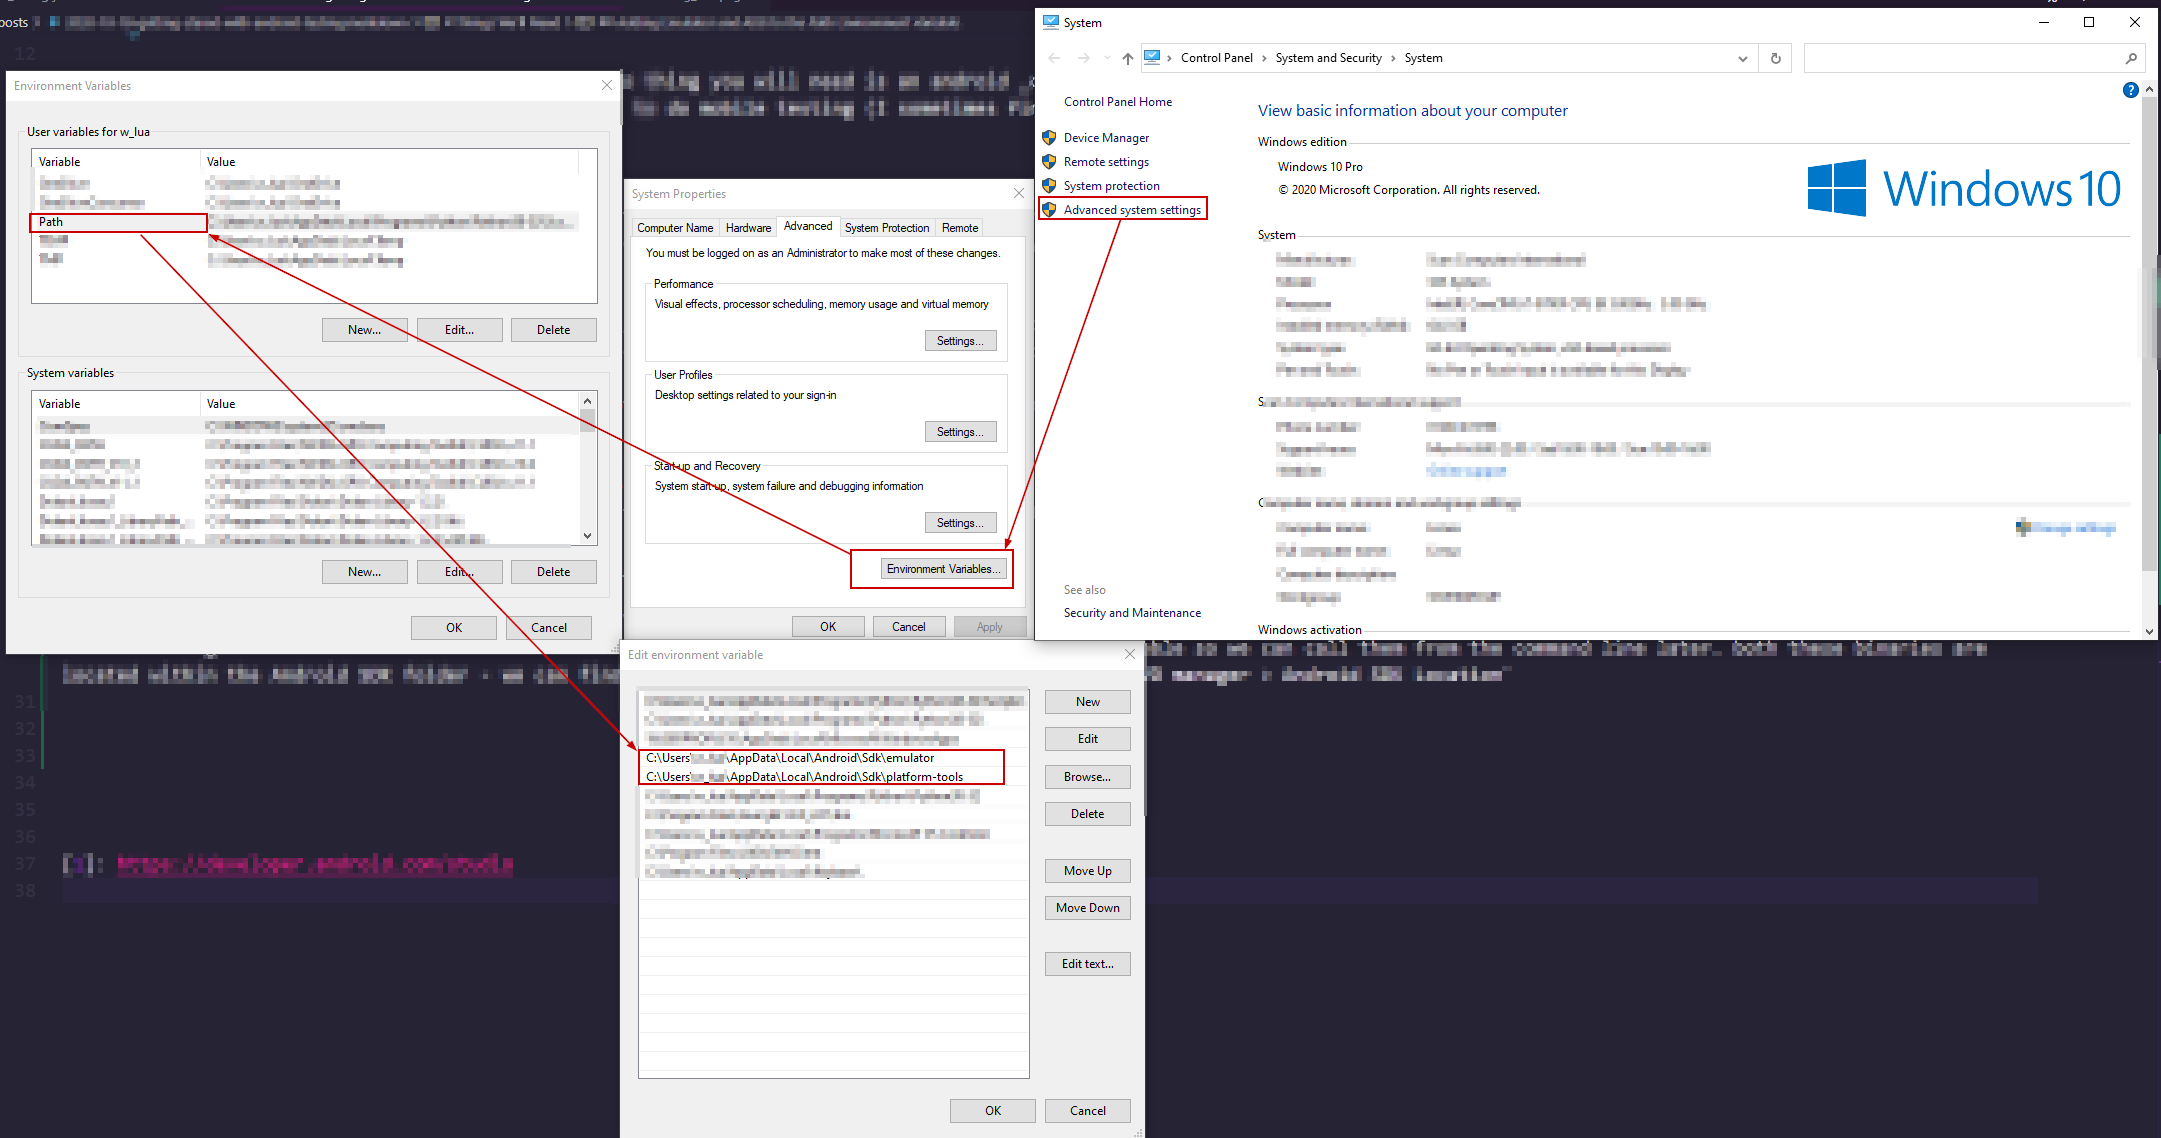
Adding Emulator and ADB to the Path Environment Variable
The next thing we need to do is add both the ADB and Emulator paths to the path environment variable so we can call them from the command line later. both these binaries are located within the Android SDK folder - we can find that path using android studio, configure > AVD manager > Android SDK Location. The binaries located in the emulator and platform-tools respectively.
Once these have been added to environment variables we can check they’ve been added correctly by starting the AVD we created earlier. firstly we can list the devices
PS C:\> emulator -list-avds
@Pixel2_Oreo_Rooted
PS C:\> emulator -avd Pixel2_Oreo_Rooted
Followed by the following comands to connect to the device
PS C:\> adb shell
generic_x86:/ $ whoami
shell
generic_x86:/ $ exit
PS C:\> adb root
restarting adbd as root
PS C:\> adb shell
generic_x86:/ #
Now we’re ready to install apps to test on rooted devices!
Hopefully this has been useful,
Phyu